Примечание. Это руководство предназначено для osCommerce v4.
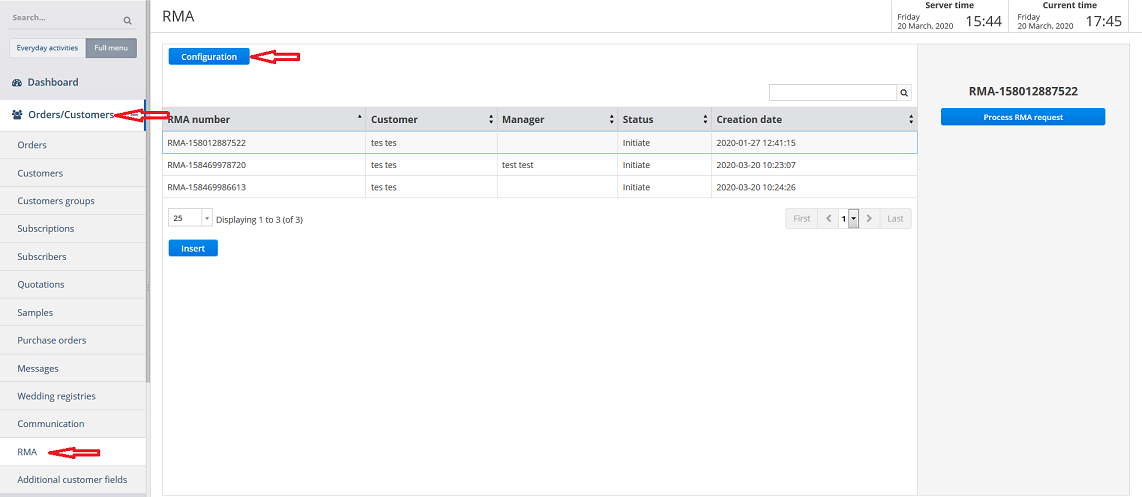
После того, как вы вошли в админ-панель своего веб-сайта, нажмите на вкладки « Заказы/Клиенты » и « RMA ». Затем нажмите кнопку Конфигурация .
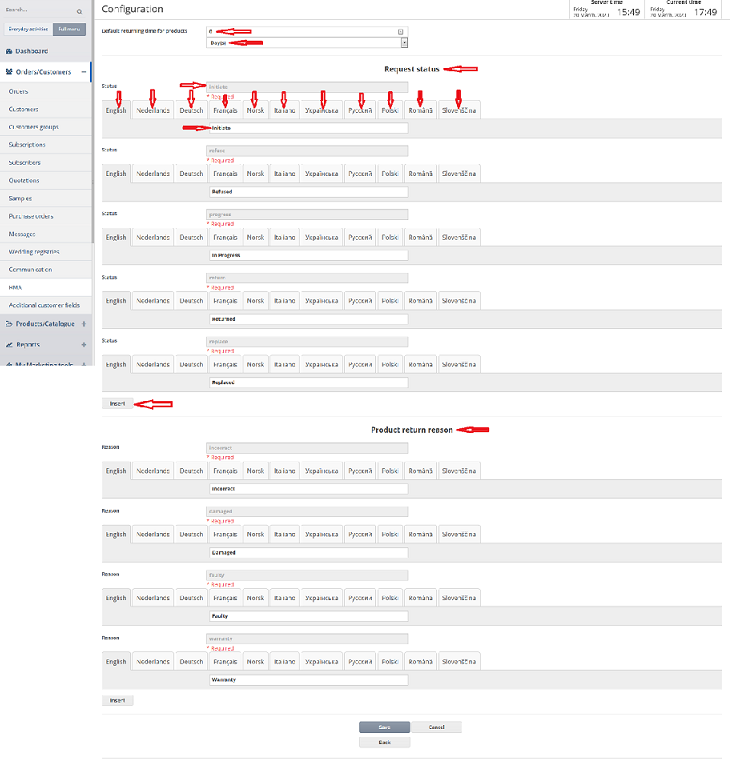
Вы можете установить время возврата товара по умолчанию, заполнив поле и выбрав нужный вариант из выпадающего списка, просмотреть, обновить или вставить статусы запроса или причину возврата товара на разных языках , нажав на соответствующую кнопку или вкладку. Если поле выделено серым цветом, вы не можете его обновить.
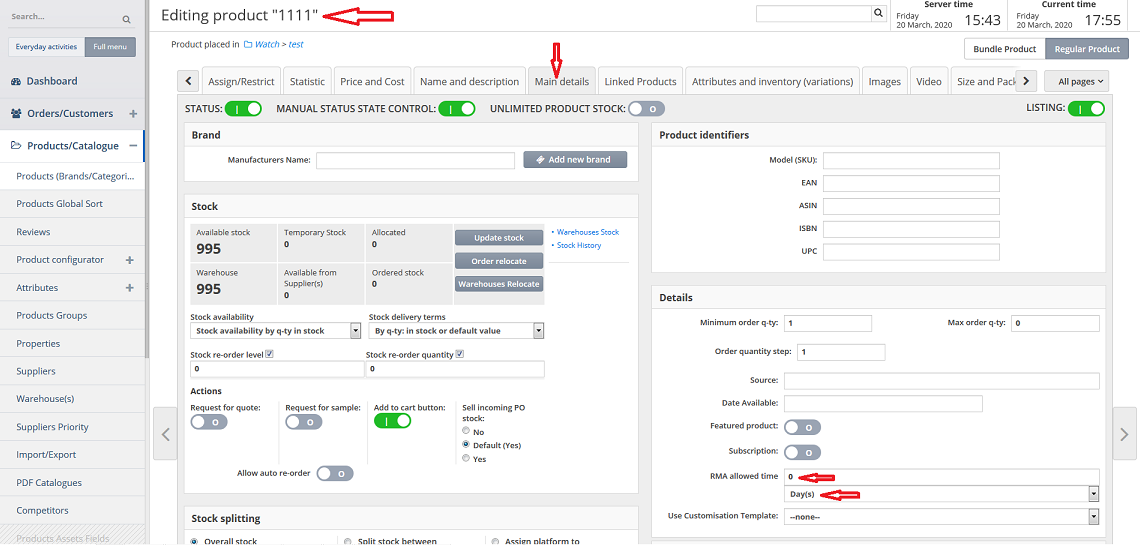
You can override default returning time for products setting while adding/editing a product. Click on Main details tab, fill in the field next to RMA allowed time and choose the required option from the drop down list.
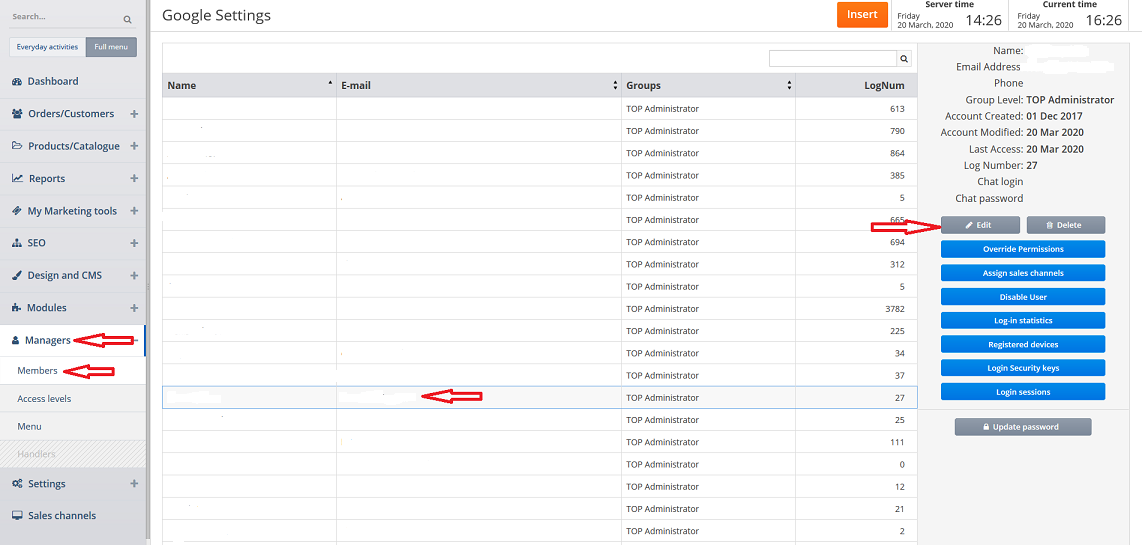
Then click on Manager and Members tabs, click on the required member and then on Edit button.
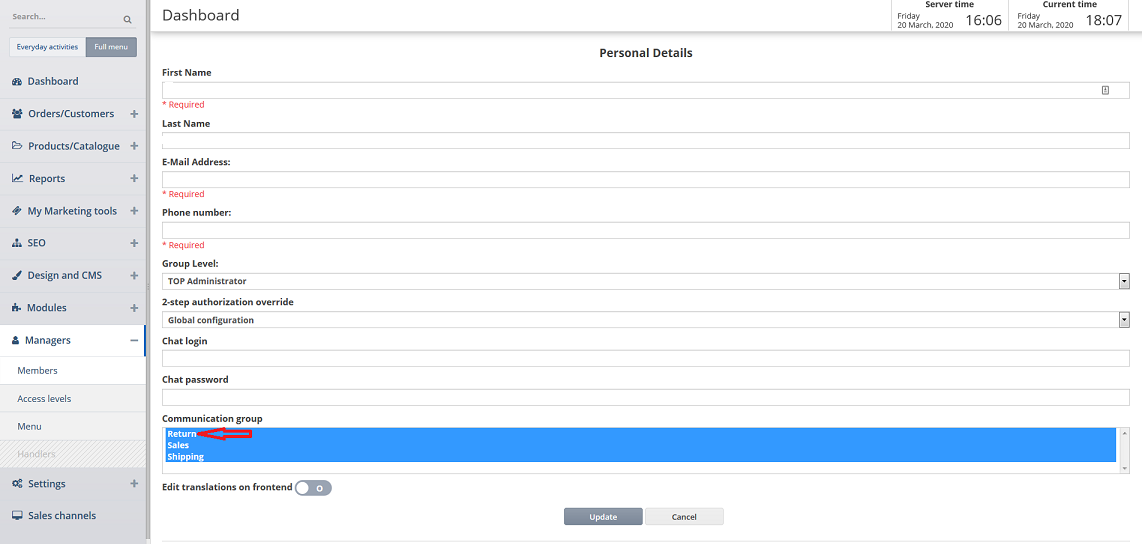
In the Communication group section make sure you assign this member to the Return group by clicking on it (if more than one group needs to be chosen press and hold Ctrl button and click on the required groups).
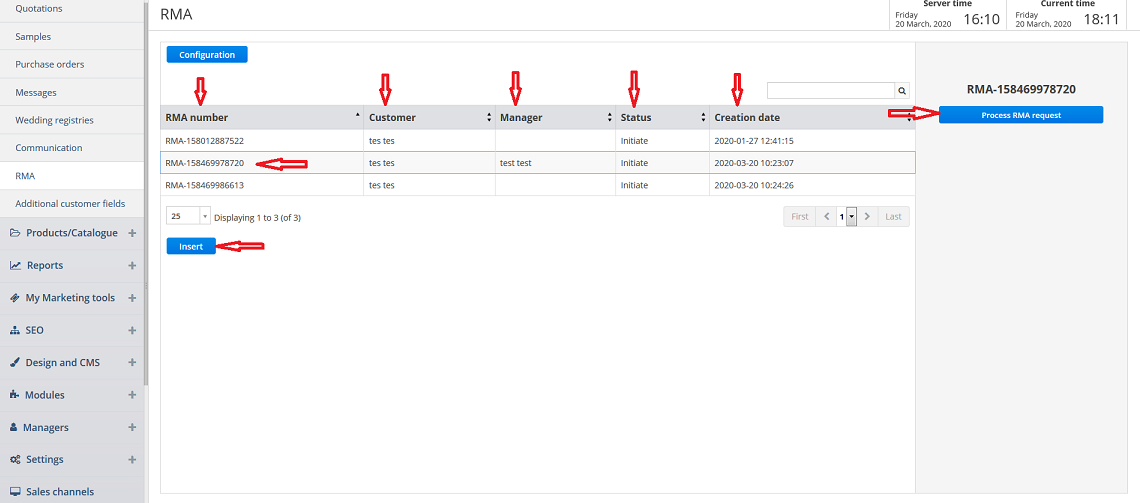
Now this member can view the columns or process RMA request according to the Return group. To make a post click on the required RMA and then on process RMA request button. To create a new RMA click on Insert button.
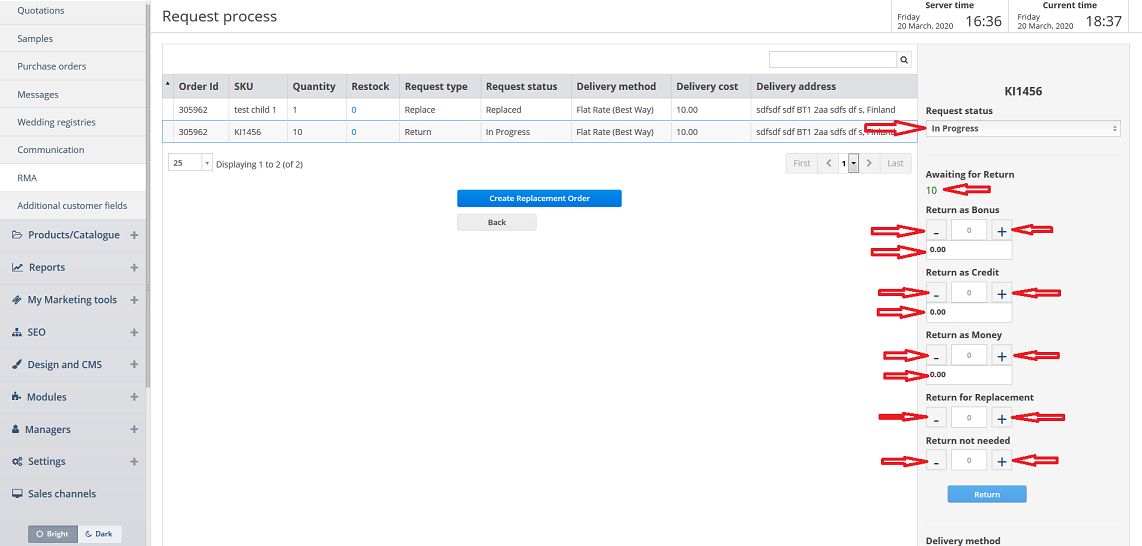
If you click on process RMA request button you can view the columns for the available RMA requests. If you click on it you can view/update the fields. When an RMA request is received it is always in Initiate status.
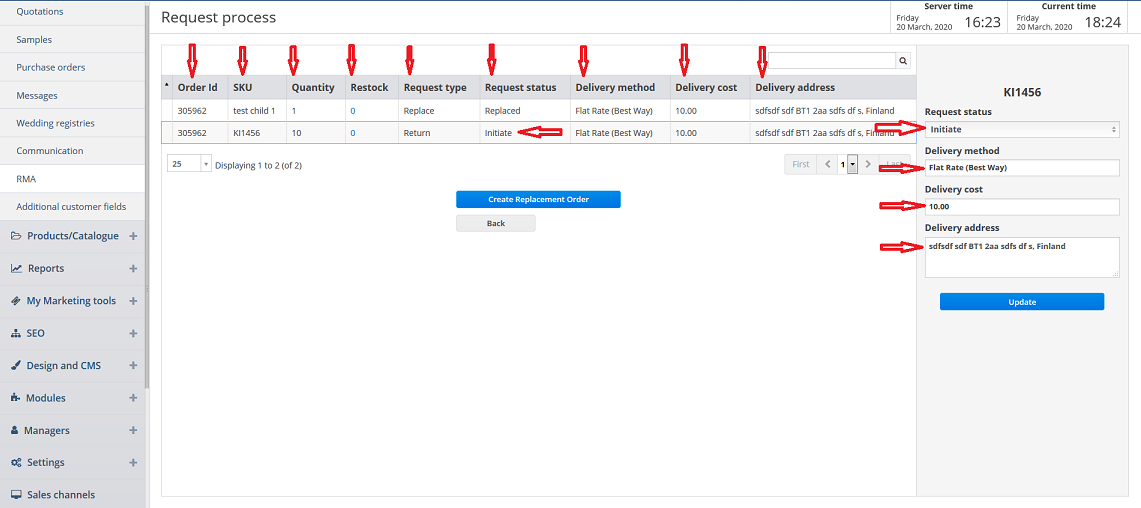
If you choose In Progress request status from the drop down list and based on awaiting for return number you can return as bonus by clicking on – or + tabs or filling in the corresponding field, return as credit by clicking on – or + tabs or filling in the corresponding field, return as money by clicking on – or + tabs or filling in the corresponding field, return for replacement by clicking on – or + tabs and return not needed by clicking on – or + tabs.
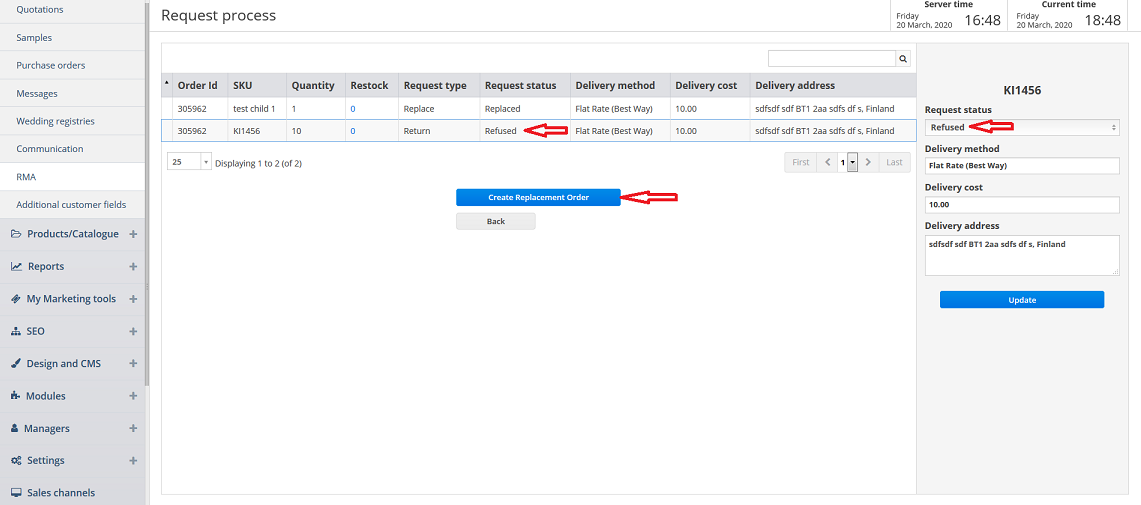
If you choose Refused request status from the drop down list it will be updated accordingly in the corresponding column as well. To create a replacement order click on the corresponding button.
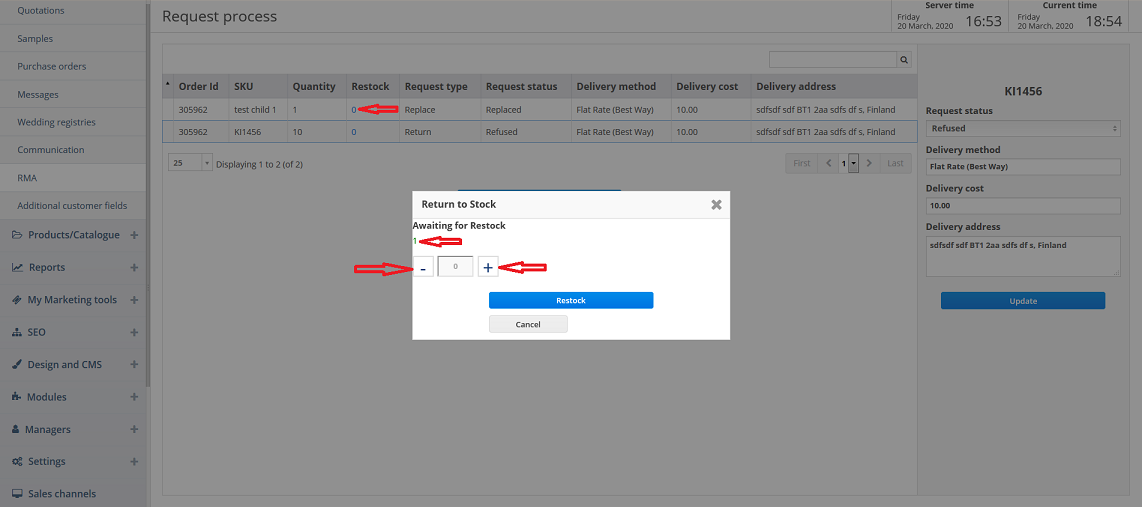
You can also restock based on awaiting for restock number by clicking on – or + tabs in the pop up window after clicking on the number in the Restock column.
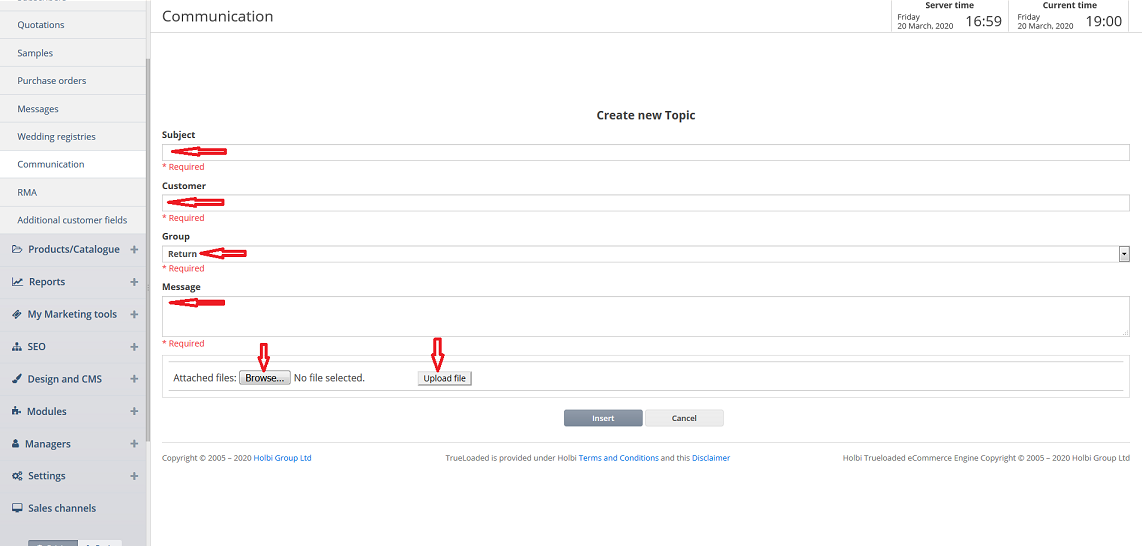
If you click on Insert button on RMA page you can create the new topic by filling in the required fields, choosing a group from the drop down list and attaching a file by clicking on Browse and then on Upload file buttons.
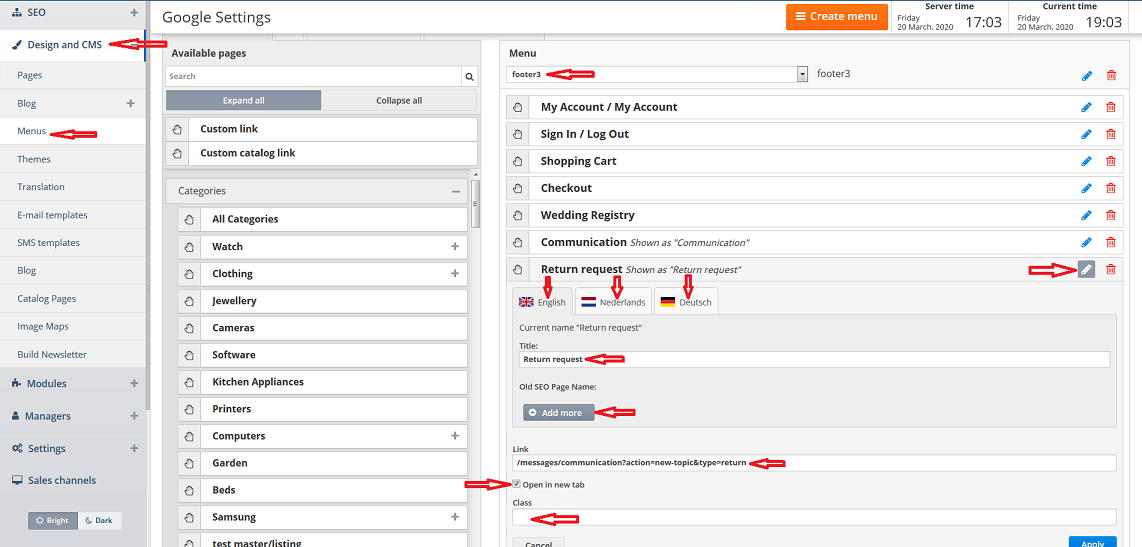
Return request is also set up by clicking on Design and CMS and Menus tabs, choosing a required option from the Menu drop down list and clicking on the pencil icon next to Return request. You can view it under the different languages by clicking on the corresponding tabs, view or update the fields, add more or delete it by clicking on the corresponding button or on the trash icon.
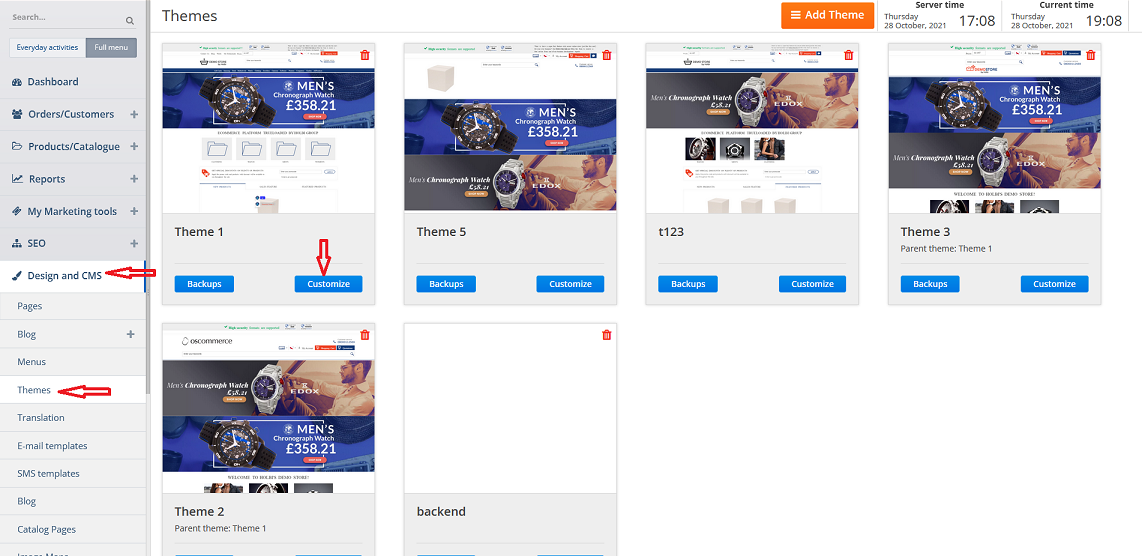
Then click on Design and CMS and Themes tabs. Click on Customize button for the required theme.
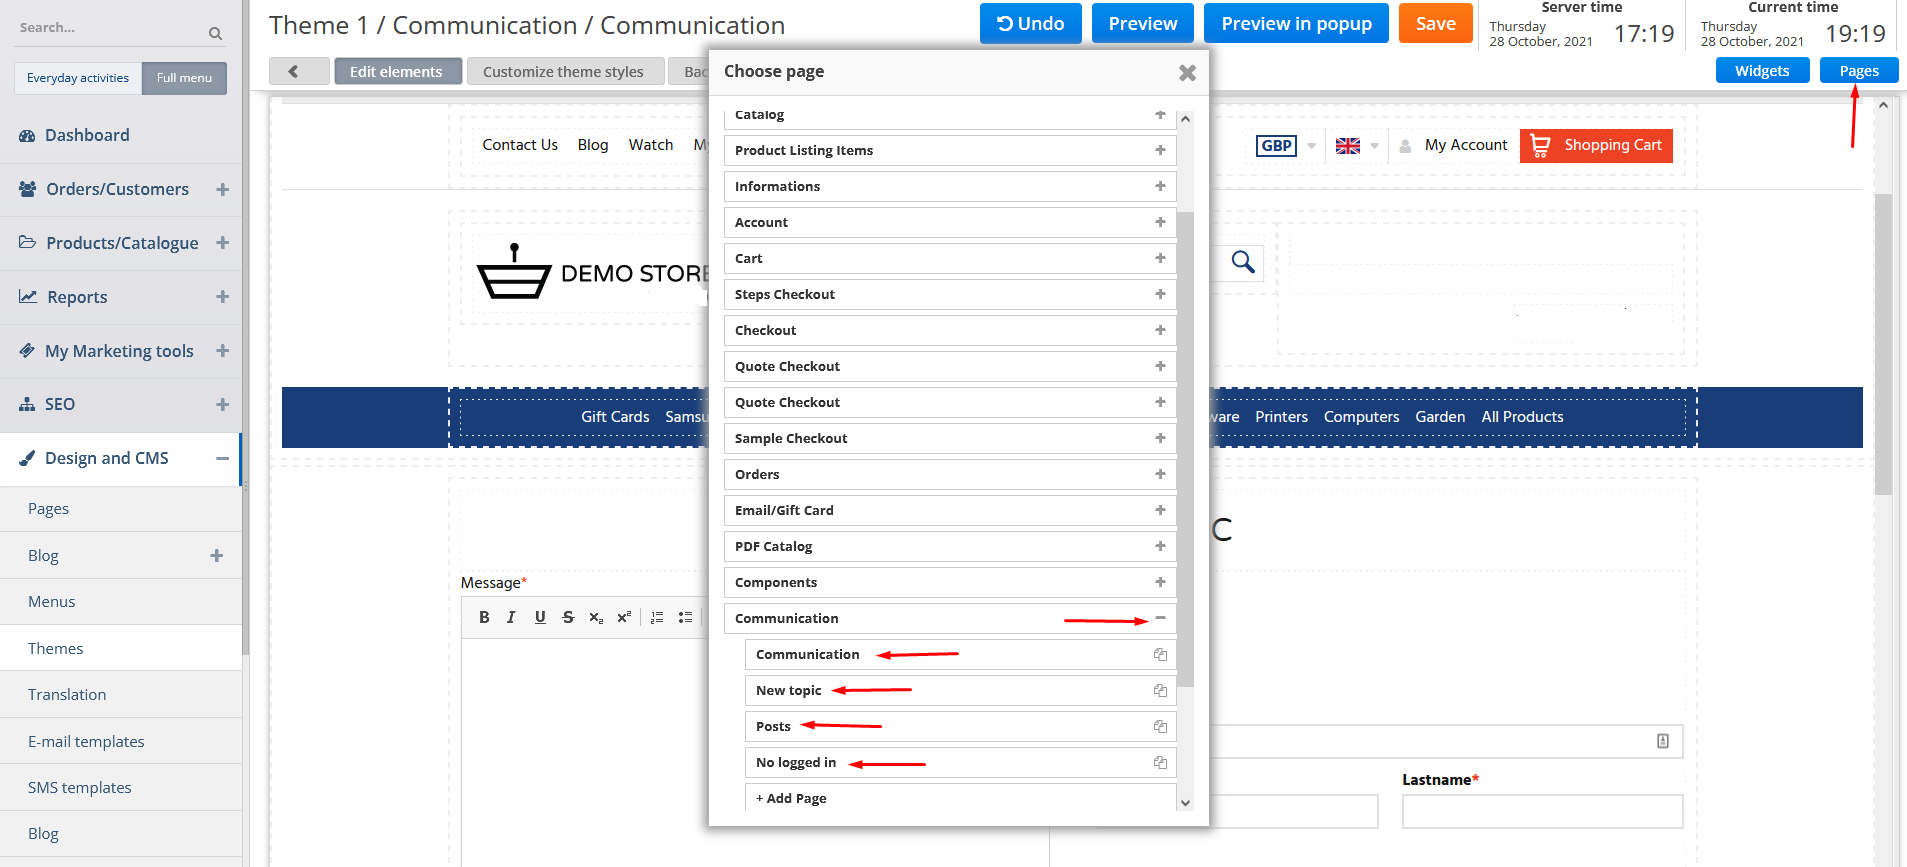
Нажмите кнопку Страницы . Найдите и откройте опцию « Связь » во всплывающем окне. В разделе « Общение», «Новые темы», «Сообщения» и «Без входа в систему » вы можете дополнительно настроить параметры запроса на возврат, прокрутив эту страницу вниз и просмотрев / обновив параметры.
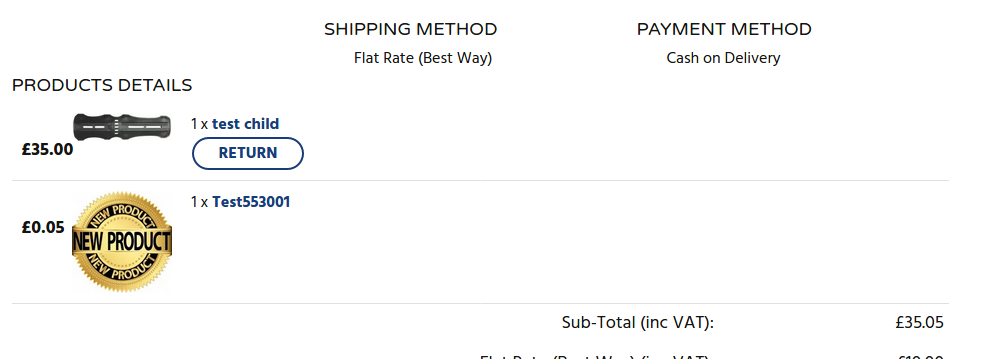
Если клиент нажимает ссылку « Запрос на возврат » в интерфейсе, он/она может связаться с вами с помощью этого инструмента только в том случае, если он войдет в свою учетную запись и сделает заказ с продуктами, которые можно запросить на возврат.
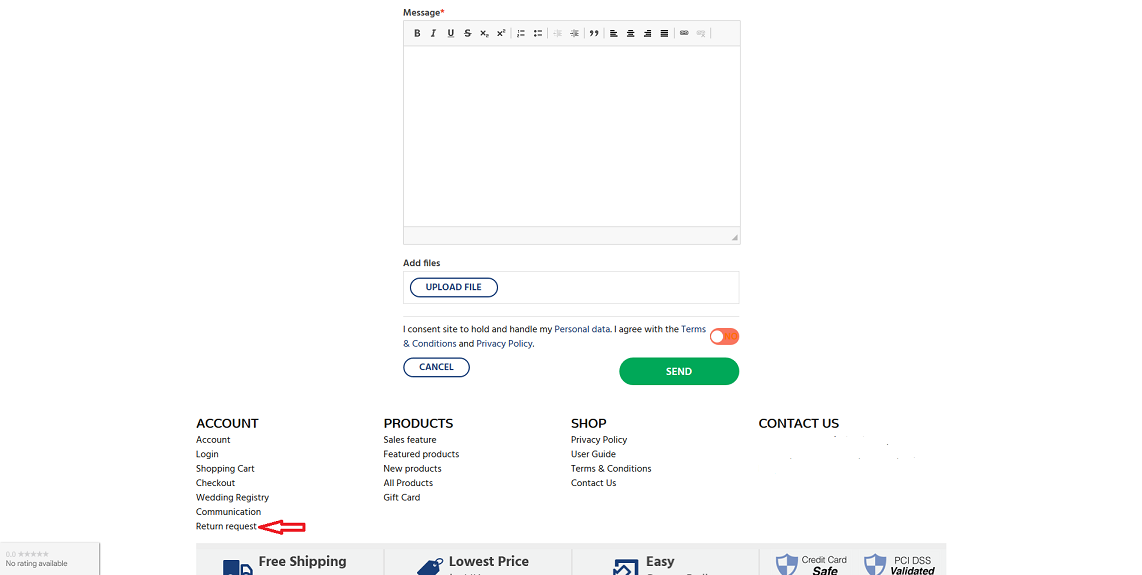
Запрос на возврат можно сделать через сам заказ .